In our guide, “How Do I Layer Materials In A Compost Pile?” we delve into the art of creating nutrient-rich compost by mastering the technique of layering materials correctly. We explore the balance between greens and browns, ensuring that our compost piles heat up efficiently and decompose thoroughly. By layering kitchen scraps, yard waste, and other organic materials, we can transform waste into a valuable resource for our gardens, promoting sustainability and healthier plants. Join us as we uncover the secrets to building and maintaining a successful compost pile that benefits both us and our environment. How do we layer materials in a compost pile? It’s a question many of us ask when we first dive into the world of composting. Creating a well-layered compost pile is both an art and a science. It’s all about understanding how different materials interact and break down to turn waste into valuable compost. This process not only reduces the amount of waste we send to landfills but also enriches our gardens and helps the environment.
In this article, we’ll walk you through the essentials of composting and guide you on how to layer your materials properly for optimal results. So let’s get started.
What is Composting?
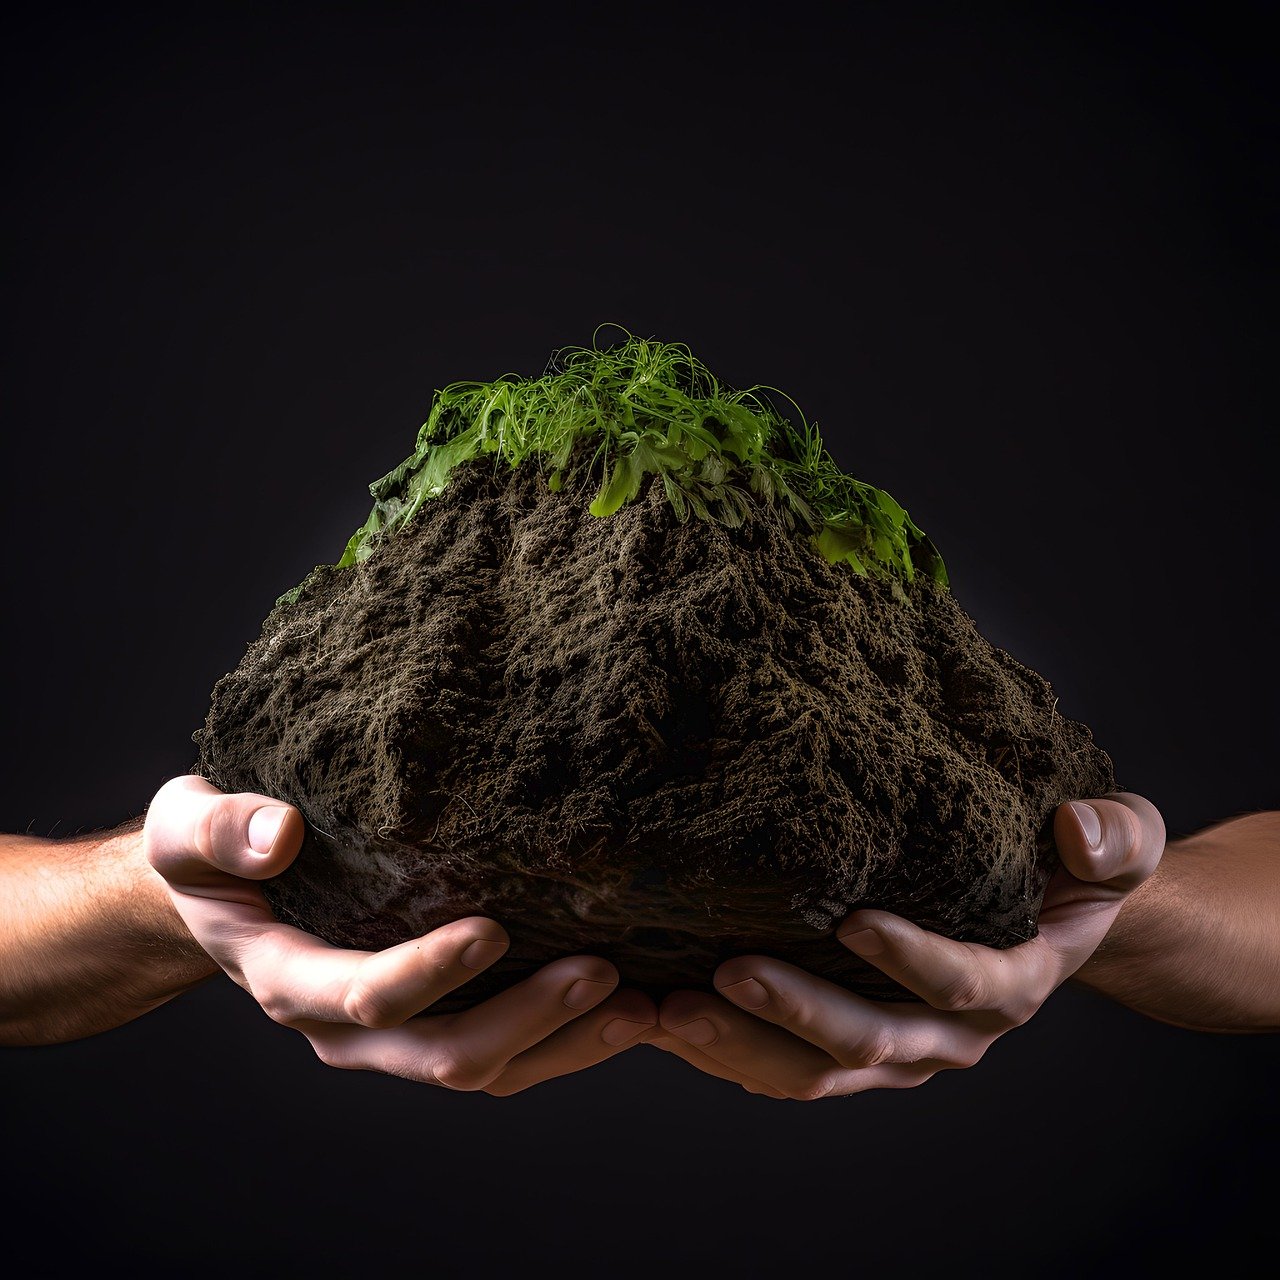
Composting is the process of decomposing organic material into a rich, soil-like substance called humus. This humus is packed with nutrients and can significantly improve the health and structure of our garden soil.
Why Compost?
Composting offers numerous benefits, both for us and the environment. It helps:
- Reduce landfill waste.
- Cut down greenhouse gas emissions.
- Recycle nutrients back into the soil.
- Enhance soil structure, drainage, and aeration.
- Promote healthier plant growth.
With all these benefits, it’s no wonder composting is becoming increasingly popular!
The Basics of Composting
Before we get into layering, it’s important to understand the core principles of composting. These fundamentals will guide us in creating a successful compost pile.
Ingredients for Compost
To create compost, we need two main types of materials: browns and greens.
- Browns: These are carbon-rich materials that provide energy for microbes. Examples include dried leaves, straw, paper, and wood chips.
- Greens: These are nitrogen-rich materials that help with the growth and reproduction of microbes. Examples include fruit and vegetable scraps, grass clippings, coffee grounds, and eggshells.
Balance of Browns and Greens
For the composting process to work efficiently, we should aim for a proper balance of browns and greens. A general rule of thumb is to use a ratio of about 3 parts browns to 1 part greens. However, this ratio can vary based on the specific materials and conditions we are working with.
Moisture and Aeration
Our compost pile needs the right amount of moisture and air. Think of it as a living organism; too much water or too little air can hinder its functions. We want our compost to be moist, like a wrung-out sponge, and well-aerated to support microbial activity.
How Do I Layer Materials In A Compost Pile?
How to Layer a Compost Pile
Now that we have a basic understanding of composting, let’s dive into the layering process. Proper layering ensures that materials break down efficiently and the compost pile remains healthy.
Step 1: Choose the Right Location
Selecting an appropriate spot for our compost pile is crucial. Ideally, it should be in a well-drained area with partial sunlight. Too much sun can dry out the pile, while too much shade can make it too wet.
Step 2: Lay the Foundation
Starting with a good foundation helps with aeration and drainage. We can use coarse materials like straw, small twigs, or wood chips. This initial layer should be about 6 inches thick.
Step 3: Add Browns and Greens
We’ll build our pile in alternating layers of browns and greens. Here’s a step-by-step guide:
- Brown Layer: Add a 4-6 inch layer of carbon-rich brown materials. This helps to create air pockets and provides food for microbes.
- Green Layer: Follow with a 2-4 inch layer of nitrogen-rich green materials. These help to activate the composting process.
- Water: Lightly moisten each layer with water. Avoid over-watering.
We’ll continue layering in this fashion until the pile reaches a height of 3-5 feet. It’s important to maintain the carbon to nitrogen ratio and ensure the pile is not too wet or too dry.
Step 4: Monitor and Turn the Pile
To keep our compost pile healthy, we should monitor its condition and turn it regularly. Turning the pile helps to aerate it, which speeds up the decomposition process. We can use a pitchfork or compost aerator for this task. Aim to turn the pile every 1-2 weeks.
Troubleshooting Common Issues
Composting can sometimes present challenges. Here are a few common issues and how we can address them:
- Pile is too wet: Add more brown materials and turn the pile to improve aeration.
- Pile is too dry: Add water and mix the pile thoroughly.
- Unpleasant odors: This is usually a sign of too much nitrogen or poor aeration. Add more browns and turn the pile.
Quick Reference Table: Common Compost Materials
Here’s a handy table of common compost materials including their type and decomposition rate.
| Material | Type | Decomposition Rate |
|---|---|---|
| Fruit scraps | Greens | Fast |
| Vegetable scraps | Greens | Fast |
| Coffee grounds | Greens | Fast |
| Grass clippings | Greens | Fast |
| Leaves | Browns | Slow |
| Straw | Browns | Medium |
| Wood chips | Browns | Slow |
| Paper | Browns | Medium |
| Eggshells | Greens | Slow |
Advanced Composting Tips
Once we get comfortable with the basics, we can explore some advanced techniques to optimize our compost pile further.
Adding Activators
Activators can jumpstart the composting process. These are materials high in nitrogen that help to heat up the pile quickly. Examples include coffee grounds, alfalfa meal, and blood meal. Adding small amounts of these can make a big difference.
Compost Bins and Tumblers
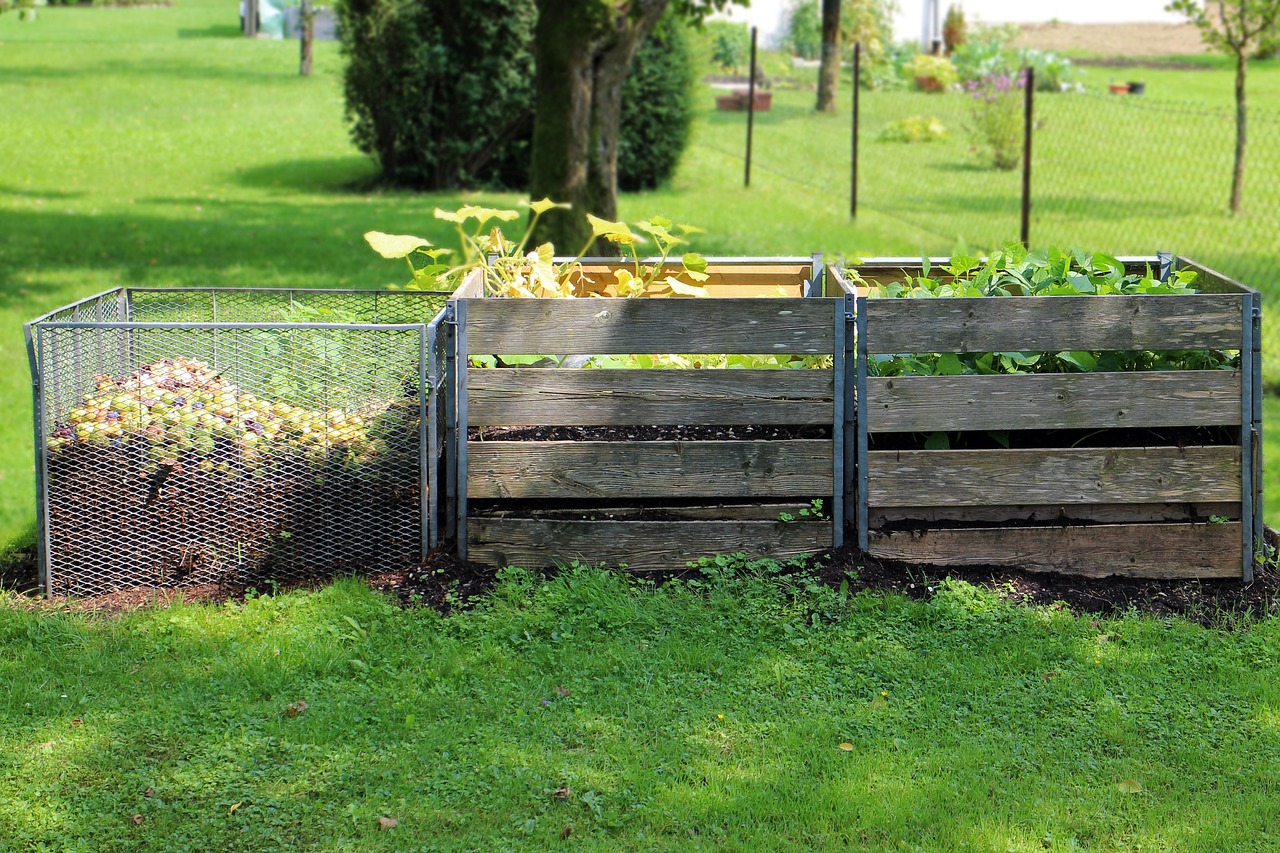
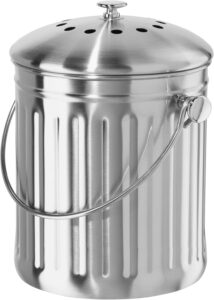
Using a compost bin or tumbler can make composting more manageable and efficient. These containers help to keep the pile contained, retain moisture, and make turning the pile easier.
Composting in Winter
Cold weather can slow down the composting process, but it doesn’t have to come to a halt. By insulating our compost pile with straw or a tarp, and continuing to add greens and browns, we can keep the decomposition going even during the colder months.
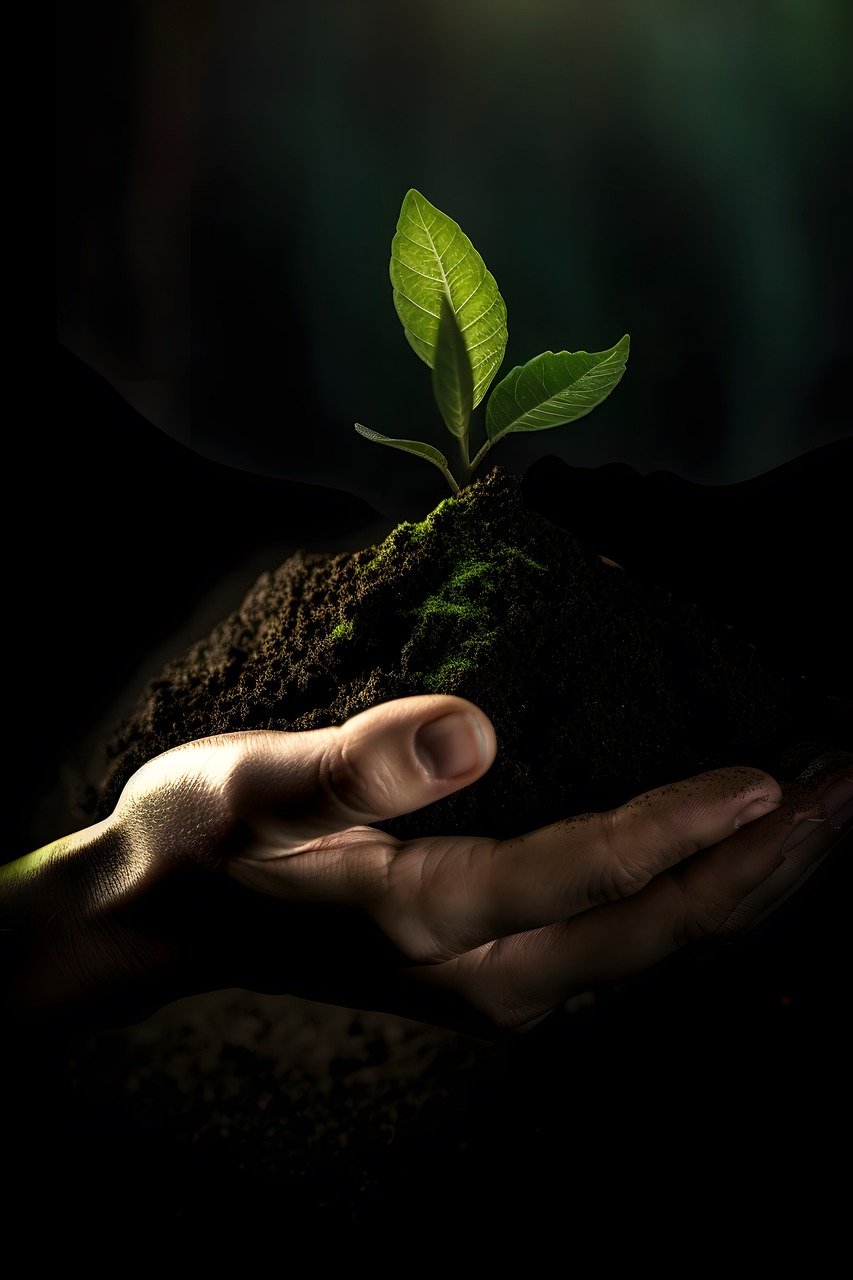
The Finished Product
With patience and the right care, our compost pile will eventually break down into rich, dark humus. This process can take anywhere from a few months to a year, depending on various factors like temperature, materials used, and how often we turn the pile.
Using Compost in the Garden
Our finished compost can be used in several ways to benefit our garden:
- Soil Amendment: Mix compost into garden soil to improve its structure and fertility.
- Mulch: Spread compost on the soil surface to help retain moisture and suppress weeds.
- Potting Mix: Use compost as a component in potting mix for container plants.
By using compost, we’re recycling nutrients and promoting a healthier, more sustainable garden ecosystem.
Conclusion
By following these steps and maintaining a proper balance of materials, we can create a thriving compost pile that will benefit both us and our environment. Composting is a rewarding process that transforms organic waste into valuable, nutrient-rich humus. Not only does it reduce waste, but it also enhances the health and productivity of our garden soil.
So, let’s start layering our compost pile today and enjoy the endless benefits it brings to our gardening efforts! Happy composting!

