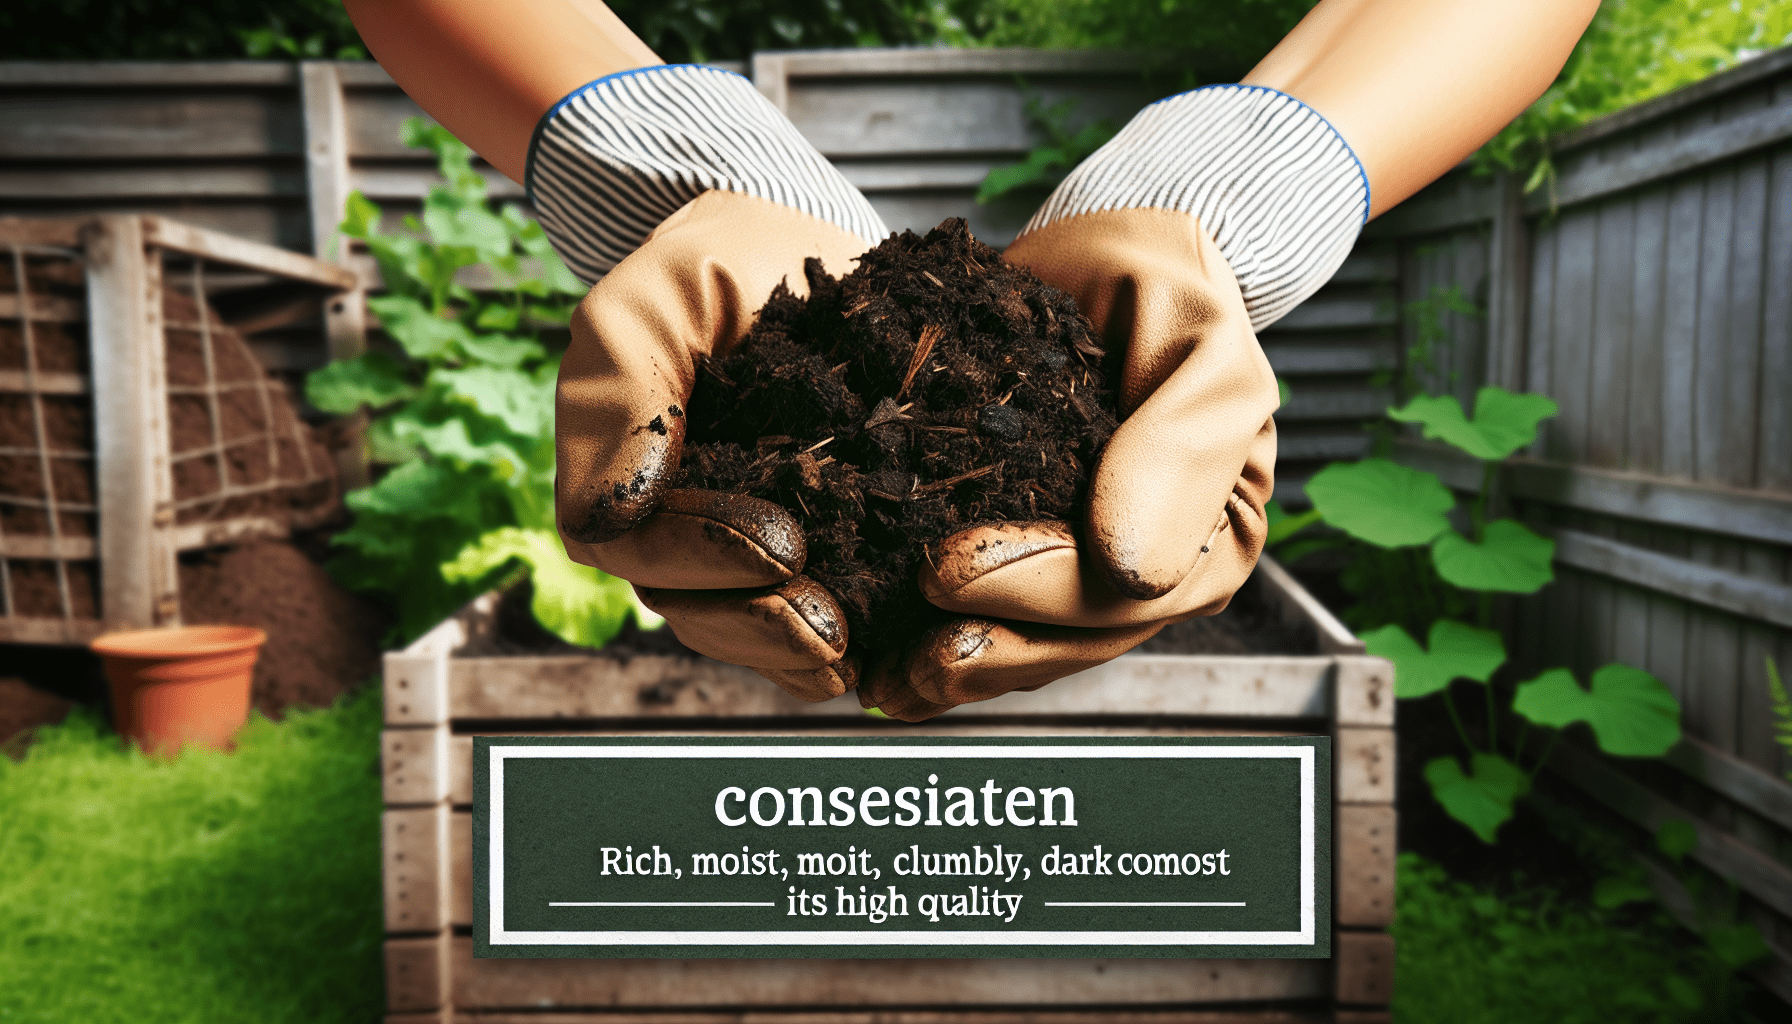
In our quest to nurture a healthy, vibrant garden, the quality of our compost plays a critical role. “How Do I Test The Quality Of My Compost?” offers practical insights into simple yet effective methods to assess our compost’s readiness and richness. By examining its texture, smell, and even performing a quick germination test, we can ensure that our compost is in prime condition to nourish our plants. Let’s dive into these easy steps together and transform our gardening experience with high-quality compost! How do we test the quality of our compost?
Great question! Composting is a fantastic way to recycle organic waste and enrich soil, but how do we ensure that what we’re creating is actually high-quality? The benefits of using well-balanced compost are immense, from providing essential nutrients to plants to enhancing soil structure. In this article, we’ll walk through the key steps and tips for testing compost quality and making sure it meets our gardening needs.
What Is Compost Quality?
Before diving into testing, it’s important for us to understand what makes compost “quality” compost. High-quality compost should be nutrient-rich, well-aerated, free of pathogens, and have a balanced pH level. Different factors such as the source material, decomposition process, and curing time all influence the final product.
Key Characteristics of Quality Compost
The quality of compost can be assessed based on several characteristics:
- Nutrient Content: Essential nutrients like nitrogen (N), phosphorus (P), and potassium (K).
- Physical Structure: Size, texture, and moisture content.
- Biological Activity: Presence of beneficial microorganisms.
- Free from Contaminants: Lack of harmful pathogens and synthetic chemicals.
Let’s get into the nitty-gritty of how we test for each of these characteristics.
How to Test Nutrient Content
Nutrient content is one of the most important aspects of compost quality, as it directly affects plant health and growth. We can use various methods to test nutrient content.
DIY Testing Kits
Home testing kits are available for checking basic nutrient levels such as nitrogen, phosphorus, and potassium. While these tests won’t give us a comprehensive nutrient profile, they can provide useful insights.
| Nutrient | Desired Level | Importance |
|---|---|---|
| Nitrogen | Medium to High | Vital for plant growth and leafy development |
| Phosphorus | Medium to High | Important for root development and flower/fruit production |
| Potassium | Medium to High | Essential for overall plant health and disease resistance |
Lab Tests
For a more thorough analysis, sending a sample to a professional lab is the best option. Labs can provide a full nutrient profile, including micronutrients like calcium, magnesium, and sulfur, which are also important for plant health.
How to Assess Physical Structure
The physical structure includes texture, moisture content, and particle size. A well-balanced physical structure ensures that compost can effectively support plant growth.
Texture Test
We can assess the texture of our compost using a simple hand test. Quality compost should feel crumbly like soil, neither too dense nor too coarse.
- Take a handful of compost: Squeeze it gently.
- Check moisture and texture: It should hold together loosely but break apart easily when disturbed.
Moisture Content
Ideal moisture content for compost should be about 50-60%. If it’s too wet, it can smell and won’t decompose properly, whereas too dry and the decomposition process can slow down.
- Squeeze Test: Take a handful of compost and squeeze it; a few drops of water should come out. If water streams out, it’s too wet; if no water appears, it’s too dry.
Particle Size
Uniform particle size helps in consistent decomposition and nutrient release. Use a sieve or simply look through the compost for pieces that are too large or haven’t decomposed fully.
Biological Activity
Healthy compost teems with beneficial microorganisms, including bacteria, fungi, and actinomycetes. These organisms are crucial for breaking down organic matter and turning it into nutrient-rich humus.
Observing Microorganisms
While we can’t see most microorganisms with the naked eye, observing the overall health of our compost can give us an idea.
- Earthworms and Insects: Earthworms and soil insects indicate biologically active compost.
- No Foul Odor: A healthy, active compost should smell earthy, not rotten.
Using a Microscope
For a more detailed observation, using a microscope can help us see microorganisms at work. This might be a step for those of us who are particularly enthusiastic about composting science!

Testing for Pathogens and Contaminants
Ensuring our compost is free from harmful pathogens and synthetic chemicals is crucial, especially if we’re growing edible plants.
Pathogen Testing
While lab tests can detect specific pathogens, a general rule is to ensure that the compost reaches a high enough temperature to kill most harmful organisms. For this, maintaining a compost temperature of around 140-160°F (60-71°C) for several days is effective.
Synthetic Chemicals
It’s a bit more difficult to test at home for synthetic chemicals such as pesticides or herbicides. The best approach is to be mindful about the source material we use to create our compost.
- Avoid Treated Wood: Never use treated wood or materials sprayed with pesticides.
- Stick to Organic: Wherever possible, use organic waste sources.
pH Testing
The pH level of compost indicates its acidity or alkalinity, which can significantly impact plant health. Most plants prefer a slightly acidic to neutral pH (6.0-7.5). Here’s how we can test it:
pH Test Strips
Affordable and easy to use, pH test strips provide a quick assessment.
- Mix compost with distilled water: Blend equal parts compost and water to create a slurry.
- Dip the strip: Insert the strip into the mixture and match it to the pH scale provided.
pH Meters
For more accuracy, a digital pH meter can be a good investment.
- Calibrate the meter: Follow the manufacturer’s instructions.
- Insert the probe: Stick the cleaned probe directly into the compost slurry.
- Read the result: The digital display will show the pH level.
| pH Level | Interpretation |
|---|---|
| <6.0< />d> | Too acidic, may need lime or calcium |
| 6.0-7.5 | Ideal range for most plants |
| >7.5 | Too alkaline, may need sulfur to lower pH |
Conducting the Curing Test
Proper curing is vital to ensure that compost has fully decomposed and is safe for plants. Uncured compost can still be breaking down, potentially harming plants by stealing nitrogen from the soil.
Curing Process
We need to let our compost rest for about 1-3 months after the active composting phase. Here’s how to test if it’s ready:
- Stability Test: Mix the compost with a small amount of soil and plant a few seeds. If the seeds germinate and grow well, our compost is stable.
- Smell Test: Properly cured compost should emit a fresh, earthy smell.
The Solvita® Test
The Solvita® test is a simple yet effective method to measure the maturity and stability of compost. It uses color-coded test pads that react with emissions from the compost, providing a visual maturity index.
Performing the Solvita® Test
- Sample Collection: Take a representative sample of our compost.
- Place in Test Kit: Follow the Solvita® instructions to place the sample in the test chamber.
- Observe Color Change: Compare the color of the test pad with the provided chart to determine the compost’s maturity.
CO2 Respiration Test
Another way to test the biological activity and maturity of our compost is through a CO2 respiration test. This test measures the carbon dioxide (CO2) produced by microorganisms in the compost, giving an indication of the microbial activity.
Steps to Perform CO2 Respiration Test
- Prepare Sample: Place a specific amount of compost in an airtight container.
- Measure Initial CO2 Level: Use a CO2 sensor to record the initial CO2 concentration.
- Seal and Wait: Seal the container and wait for a predetermined period, typically 24 to 48 hours.
- Measure Final CO2 Level: After the waiting period, measure the CO2 concentration again.
- Calculate Respiration Rate: The difference between the initial and final CO2 levels will indicate the respiration rate.
| Respiration Rate | Interpretation |
|---|---|
| Low Respiration | Mature, stable compost |
| High Respiration | Active decomposition, may need more curing time |
Salt Content Test
High salt content can be detrimental to plant growth, so it’s important for us to check this aspect as well. The electrical conductivity (EC) test is commonly used to measure the salt concentration in compost.
Performing an Electrical Conductivity Test
- Create Compost Slurry: Mix one part of compost with five parts of distilled water.
- Stir and Settle: Stir the mixture thoroughly and let it sit for 30 minutes.
- Measure with EC Meter: Use an electrical conductivity meter to measure the conductivity.
| EC (dS/m) | Interpretation |
|---|---|
| <1.0< />d> | Low salt content, ideal for most plants |
| 1.0-2.5 | Moderate salt content, may be suitable for tolerant plants |
| >2.5 | High salt content, use caution with sensitive plants |
Practical Tips for Achieving High-Quality Compost
While testing is crucial, achieving high-quality compost starts with good practices. Here are some tips:
1. Diverse Materials
Include a variety of green (nitrogen-rich) and brown (carbon-rich) materials to ensure a balanced nutrient profile.
2. Regular Turning
Turn our compost pile regularly to aerate it, promote microbial activity, and ensure even decomposition.
3. Monitor Temperature
Keep an eye on compost temperatures to ensure it’s hot enough to kill pathogens but not so hot that it kills beneficial microorganisms. The optimal range is 135-160°F (57-71°C).
4. Maintain Moisture
Keep the compost moist, but not waterlogged. Aim for the consistency of a wrung-out sponge.
5. Curing Time
Be patient and allow adequate curing time. Rushing the process can result in immature compost that might not support plant growth.
Conclusion
Testing the quality of our compost involves multiple factors, from nutrient content and physical structure to biological activity and pH levels. By using a combination of DIY methods, professional tests, and practical tips, we can ensure that our compost is of the highest quality, providing maximum benefits to our garden. Happy composting, and here’s to flourishing, healthy plants!


