In our journey towards a greener lifestyle, one common question we often hear is, “How do I store kitchen scraps for composting?” It’s a simple yet crucial step that can significantly reduce our household waste and enrich our gardens. In this article, we’ll explore the best practices for collecting and storing kitchen scraps, ensuring they stay fresh and manageable until we’re ready to add them to our compost pile. From choosing the right containers to understanding what can and can’t be composted, we’ll guide you through every step to make composting a hassle-free part of our daily routine. How do we store kitchen scraps for composting?
If this question has ever crossed our minds, then we are already on the right path to creating a more sustainable lifestyle. Composting is a fantastic way to convert organic waste into valuable soil amendments that can enrich our garden beds. By understanding how to store our kitchen scraps correctly, we can make the composting process smoother and more effective. Let us walk through this journey together and explore the best practices and tips for storing kitchen scraps for composting.
Why Composting Matters
Before diving into the how-to, let’s touch on why composting is so essential. By composting, we divert organic waste from landfills, reduce methane emissions, and create nutrient-rich compost that improves soil health. This not only benefits our gardens but also the environment. Composting helps us close the loop, ensuring nothing goes to waste.
What Can Be Composted?
Understanding what we can compost is vital before we discuss storage methods. Here’s a quick overview of compostable kitchen scraps:
| Green Materials (Nitrogen-Rich) | Brown Materials (Carbon-Rich) |
|---|---|
| Fruit and vegetable scraps | Coffee grounds and filters |
| Tea bags (without synthetic materials) | Paper napkins (unbleached, without dyes) |
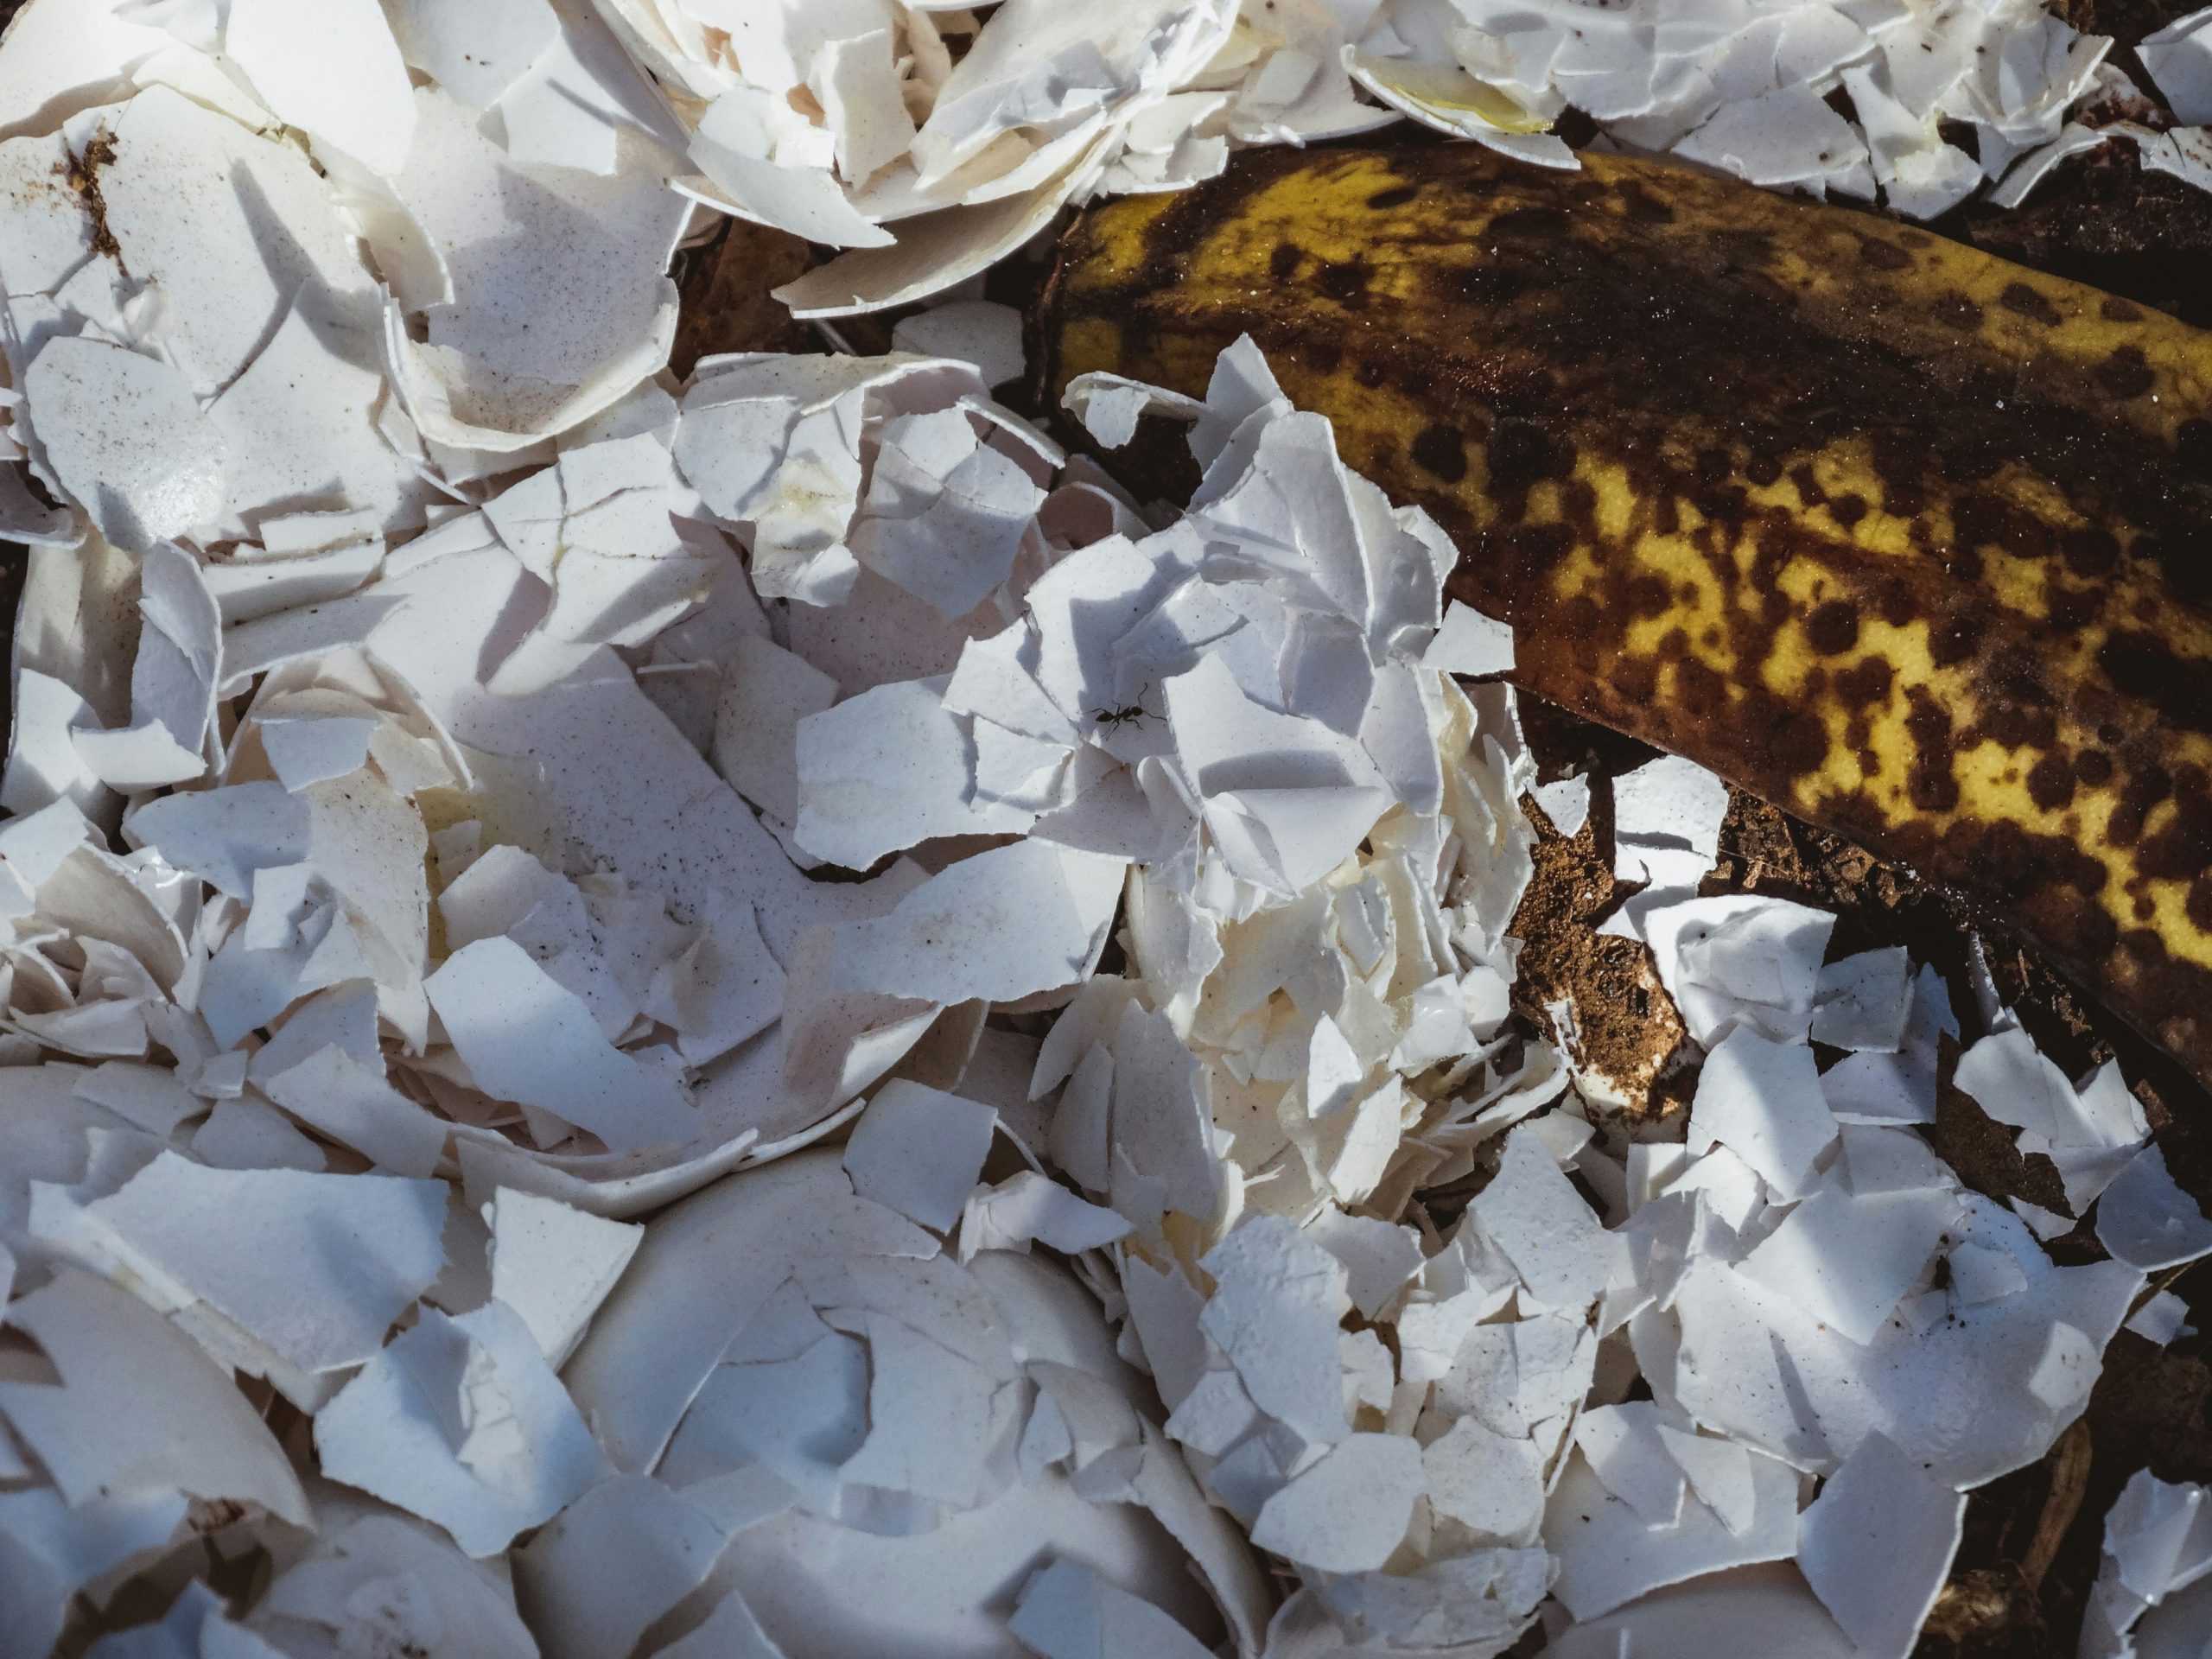
| Eggshells (crushed) | Shredded paper (non-glossy) |
| Bread and grains (in moderation) | Cardboard (non-coated, shredded) |
Understanding these categories will help us make informed decisions when collecting kitchen scraps.

Choosing the Right Container
The first step to effectively storing kitchen scraps is choosing an appropriate container. Here are a few considerations:
- Size: The container should be large enough to hold a reasonable amount of waste but small enough to fit comfortably in our kitchen.
- Material: Options include plastic, stainless steel, ceramic, and bamboo. Each material has its pros and cons in terms of weight, durability, and ease of cleaning.
- Lid: A tight-fitting lid is essential to keep odors in and pests out.
Popular Types of Storage Containers
| Container Type | Pros | Cons |
|---|---|---|
| Plastic | Lightweight, inexpensive, easy to clean | Can retain odors, may discolor over time |
| Stainless Steel | Durable, doesn’t retain odors, stylish | Heavier, can be expensive |
| Ceramic | Aesthetic, doesn’t retain odors, eco-friendly | Fragile, may chip or crack |
| Bamboo | Eco-friendly, stylish | Can absorb moisture, might be less durable |
Preparing the Container
After selecting the container, the next step is preparing it for use. We should:
- Clean it thoroughly: Ensure it’s clean and dry before first use.
- Add a liner: Use compostable bags, paper towels, or newspaper to line the container. This helps manage moisture and contains any liquid from the scraps.
Reducing Odors
Even with a lid, kitchen scrap containers can sometimes emit odors. Here are tips to keep the smells at bay:
- Add brown materials: Layering brown materials like paper towels or shredded newspaper over scraps helps balance moisture and reduce odors.
- Use baking soda: Sprinkling a bit of baking soda at the bottom of the container can help absorb smells.
- Keep it cool: Store the container in a cool, dry place. Warm environments can accelerate decomposition and odor production.

What Not to Compost
To ensure our compost is efficient and safe, we must be cautious about what not to include. Certain items can cause problems for the composting process or attract pests.
Non-Compostable Items
| Non-Compostable | Reason Why |
|---|---|
| Meat and fish scraps | Attract pests and rodents, can produce strong odors |
| Dairy products | Can attract pests, create odors, and imbalance compost |
| Grease, oils, and fats | Slow to decompose, can create foul odors |
| Diseased plants | May introduce pathogens to the compost |
| Synthetic materials | Do not break down and can contaminate compost |
Storing Scraps Long Term
When collecting kitchen scraps over an extended period, it’s crucial to manage them properly to avoid issues. Here are some strategies for long-term storage:
Freezing Scraps
Freezing is an excellent method for those of us who accumulate scraps slowly. Here are the steps:
- Use a sealable plastic bag or container: Place the scraps in a bag or container that seals tightly.
- Label with dates: To ensure we use them in a timely manner, date the bags or containers.
- Store in the freezer: This halts the decomposition process and prevents odors.
Fermenting with Bokashi
Bokashi composting is a method of fermenting organic waste using inoculated bran. Here’s how it works:
- Layering: Alternate layers of kitchen scraps and Bokashi bran in a Bokashi bucket.
- Compressing: Press down each layer to remove air pockets.
- Sealing: Keep the bucket tightly sealed to create an anaerobic environment.
- Fermenting: Let it ferment for two weeks before adding it to the compost pile or burying it in the garden.

How Do I Store Kitchen Scraps For Composting?
Transporting Scraps to the Compost Pile
When the kitchen scrap container is full, it’s time to transfer the scraps to the compost pile. Here are some handy tips for doing this efficiently:
Steps for Transporting
- Gather Materials: Ensure we have gloves, a compost bucket, and any additional brown materials we might need.
- Check Moisture Levels: If scraps are too wet, add more brown materials; if too dry, add a bit of water.
- Mix with Existing Compost: When adding scraps to the pile, mix them in rather than just dumping them on top to facilitate quicker decomposition.
Common Challenges and Solutions
Storing kitchen scraps can come with its own set of challenges. Here, we’ll address some common issues and provide solutions:
Odor Problems
Solution: Regularly empty and clean the container, add more browns, use charcoal filters, or use citrus peels to mask the smell.
Pest Issues
Solution: Always ensure the container is tightly sealed, use a container with a pest-proof lid, and avoid leaving the container outside.
Excess Moisture
Solution: Add more dry, brown materials like paper towels, shredded paper, or cardboard. Lining the container can also help absorb excess liquid.
Making Composting a Habit
Establishing a routine for storing and composting kitchen scraps can make the process second nature. Here are some tips to help make it a habit:
- Set Up a System: Designate a specific spot in the kitchen for the compost container and create a schedule for emptying it.
- Involve the Family: Make composting a family activity. Educate everyone on what can and cannot be composted.
- Reward System: Set up a reward system for regular composting practices, such as allowing a family member to choose a favorite meal or activity.
Conclusion
Storing kitchen scraps for composting is a simple yet impactful way to contribute to environmental sustainability. By choosing the right container, knowing what to compost, managing odors and moisture, and establishing a routine, we can efficiently turn our kitchen waste into valuable compost. This practice not only benefits our gardens but also helps us live a more eco-friendly lifestyle. Let’s embrace composting and make the most of our organic waste.


