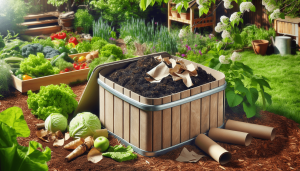
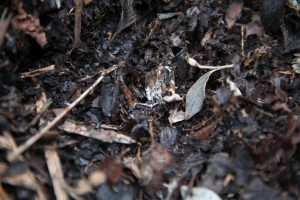
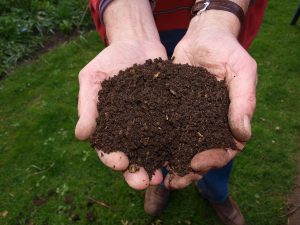
In this article, “How Do I Make A Compost Starter?”, we dive into the simple yet effective steps for kickstarting our very own composting journey. First, we gather organic materials such as kitchen scraps, yard waste, and paper products. Next, we layer these ingredients properly to ensure good aeration and moisture, which are essential for decomposition. Finally, by regularly turning our pile and monitoring its progress, we create rich, fertile compost that will nurture our plants and gardens. Together, let’s embark on this eco-friendly adventure and turn waste into a valuable resource. Have you ever wondered, “How do I make a compost starter?” If so, you’re in the right place! Let’s dive into the world of composting together. Composting is an environmentally friendly way to recycle organic waste into rich soil. Not only does it reduce our garbage, but it also provides us with fertile ground to grow healthier plants. In this guide, we’ll explore all the essential steps, tips, and tricks to make a compost starter.
What is Composting?
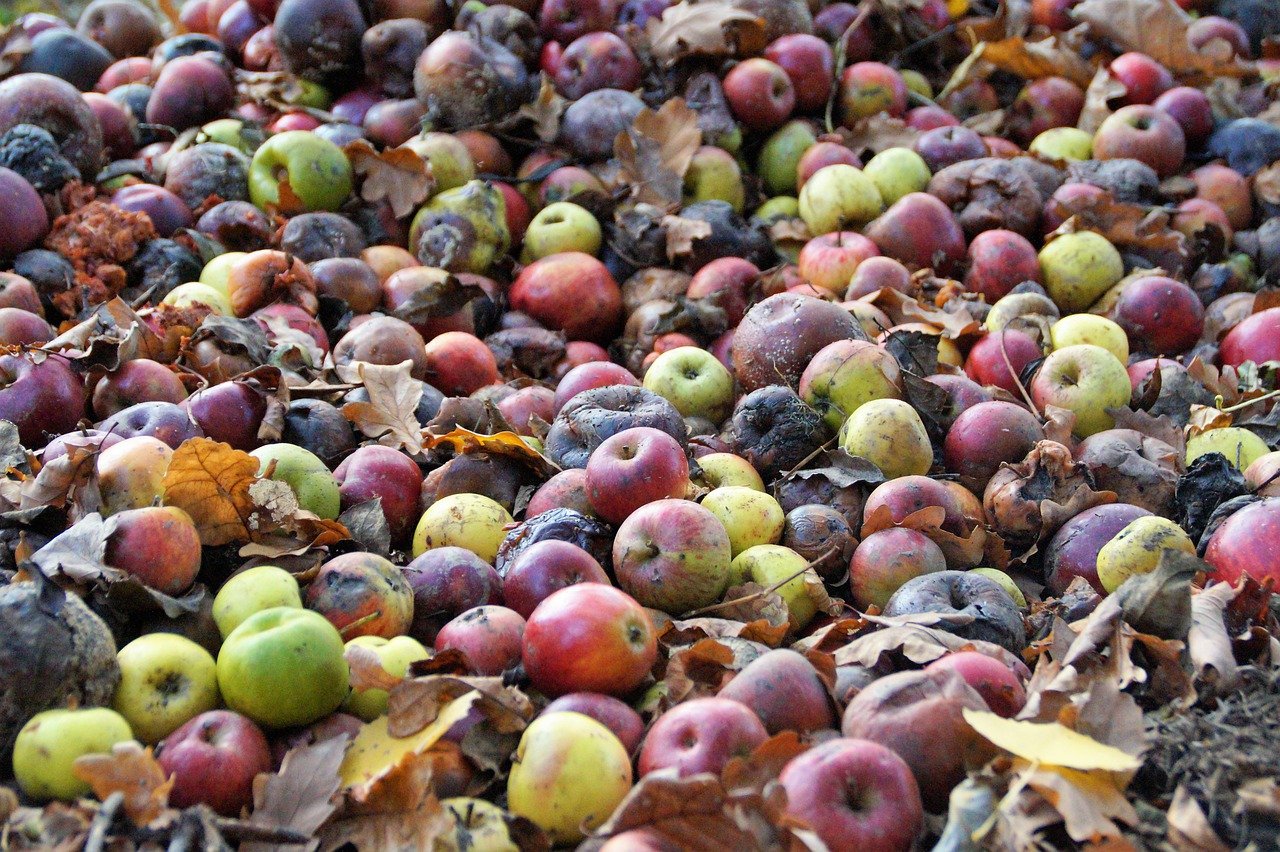
Before we get into the details of making a compost starter, let’s understand what composting actually is. Composting is the natural process of recycling organic material, such as leaves and food scraps, into a rich soil known as compost. This process is carried out by millions of tiny microorganisms that break down the materials into humus, a nutrient-rich substance that boosts soil health.
Why Compost?
There are numerous benefits to composting. Composting reduces our waste, enriches soil, helps retain moisture, and suppresses plant diseases. It also reduces the need for chemical fertilizers, allowing us to grow healthier crops. Composting also has a positive impact on climate change by reducing methane emissions from landfills.
Getting Started with Composting
So, how do we begin our composting journey? Let’s start with the basic requirements:
- A Compost Bin: Choose a suitable bin or designate a pile area for your compost.
- Browns: These are carbon-rich materials like dry leaves, straw, and cardboard.
- Greens: These are nitrogen-rich materials such as fruit and vegetable scraps, coffee grounds, and grass clippings.
- Water: Necessary for maintaining moisture levels.
- Air: Regular turning provides the aeration needed for decomposition.
Understanding Compost Starters
A compost starter kick-starts the composting process by introducing beneficial microorganisms that help in breaking down the organic material faster. There are two main types of compost starters:
- Commercial Compost Starters: These are readily available in garden stores and usually contain a blend of bacteria and fungi.
- Homemade Compost Starters: These can be made using a few household items and organic waste.
Why Use a Compost Starter?
Using a compost starter accelerates the decomposition process, thus providing us with usable compost faster. They help in balancing the carbon to nitrogen ratio, introducing vital microorganisms, and ensuring our compost pile remains active and efficient.
Making a Homemade Compost Starter
Creating a homemade compost starter is simpler than we might think. It’s not only cost-effective but also an environmentally friendly option.
Ingredients Needed for a Compost Starter
Here’s a list of materials we’ll need:
| Material | Function |
|---|---|
| Fresh Grass Clippings | Rich in nitrogen to encourage microorganism growth |
| Coffee Grounds | Provide essential nutrients for microorganisms |
| Manure (optional) | Rich in nitrogen and beneficial bacteria |
| Compost from a Mature Pile | Introduces active microorganisms and fungi |
| Vegetable Scraps | Nitrogen source and activates decomposition |
| Dry Leaves | Provide carbon and help balance the moisture levels |
| Water | Keeps the compost moist and aids decomposition |
| Soil | Adds beneficial microorganisms and fungi |
Step-By-Step Process
- Prepare Your Compost Bin: Ensure the compost bin or pile is in a convenient, yet not overly sunny area.
- Layering:
- First Layer (Carbon-Rich): Lay down dry leaves to provide structure and aeration.
- Second Layer (Nitrogen-Rich): Add fresh grass clippings and coffee grounds.
- Third Layer (Organic Brown Materials): Include a mixture of dry leaves and small twigs.
- Fourth Layer (Compost or Soil): Sprinkle a thin layer of compost or soil to introduce beneficial microorganisms.
- Moisture: Lightly moisten each layer but ensure it’s not too wet.
- Mixing: After adding all layers, mix them using a garden fork or shovel to aerate the pile.
- Maintain: Ensure the compost remains moist, and turn it regularly to accelerate the decomposition process.
Optimizing Our Compost Starter
To obtain the best results, here are a few tips to optimize our compost starter:
Balanced Carbon to Nitrogen Ratio (C:N)
A balanced C:N ratio is essential for efficient decomposition. The ideal ratio is approximately 30:1 (30 parts carbon to 1 part nitrogen).
| Material Type | C:N Ratio |
|---|---|
| Fresh Grass Clippings | 19:1 |
| Coffee Grounds | 20:1 |
| Vegetable Scraps | 12-20:1 |
| Dry Leaves | 60:1 |
| Straw | 80:1 |
Regular Turning and Aeration
Turning the compost pile every 1-2 weeks helps incorporate oxygen, which is vital for the aerobic microorganisms breaking down the organic matter.
Moisture Control
Our compost pile should be as moist as a wrung-out sponge. If the pile is too dry, the decomposition slows down; if it’s too wet, it may start to smell.
Size of Materials
Smaller pieces decompose faster. If possible, chop up kitchen scraps and shred leaves before adding them to the compost pile.
Common Issues and Solutions
Even with the best practices, we may encounter some issues. Here are a few common problems and their solutions:
Foul Odor
A smelly compost pile often indicates too much nitrogen or a lack of aeration.
- Solution: Add more carbon-rich materials like dry leaves, and turn the pile to improve aeration.
Slow Decomposition
If our compost isn’t breaking down, it could be due to a lack of nitrogen, moisture, or aeration.
- Solution: Add nitrogen-rich materials, moisten the pile, and turn it more frequently.
Pests
Pests like rodents may be attracted to our compost pile.
- Solution: Avoid adding meat, dairy, or oily foods, and use a pest-resistant compost bin.
Benefits of Using Our Compost
After a few months, our compost will be ready to use. Here’s how it benefits us:
Soil Enrichment
Compost enriches the soil with essential nutrients, promoting healthier plant growth.
Water Retention
It improves soil structure and helps retain moisture, reducing the need for frequent watering.
Disease Suppression
Using compost can help suppress plant diseases and pests, reducing the need for chemical pesticides.
Environmental Impact
Composting reduces greenhouse gas emissions and lowers the amount of organic waste in landfills.
Creating a Continuous Composting System
To ensure we always have fresh compost, we can establish a continuous system:
- Multiple Bins: Set up multiple bins or sections to rotate our compost.
- Regular Addition: Continuously add kitchen scraps and yard waste to the active compost bin.
- Transfer and Use: Once the active bin is full, transfer the material to another bin for finishing, and start a new batch in the active bin.
Conclusion
Making a compost starter is easy, cost-effective, and highly beneficial for our garden and the environment. By understanding the balance of materials, moisture control, and regular turning, we can create a rich compost that will enhance our soil and support sustainable gardening practices. Let’s start composting today and enjoy the numerous benefits it brings to our garden and planet!

