In our journey to create rich, organic compost for our gardens, a vital question arises: “How do we know when our compost is ready to use?” The answer lies in understanding the signs of well-matured compost. Our article dives deep into the key indicators that signal our compost has transformed from a heap of organic scraps into dark, crumbly, and sweet-smelling soil perfect for nourishing our plants. We’ll explore the changes in texture, smell, and appearance, and even share some practical tests to ensure our compost is in its prime condition. Join us as we unveil the secrets to identifying the perfect moment to enrich our gardens with our homemade compost treasure! How Do I Know When My Compost Is Ready To Use?
Have we ever wondered how to know when our compost is ready to use? Composting is an exciting and rewarding activity that takes our kitchen scraps, yard waste, and other organic materials and transforms them into rich, soil-nourishing compost. However, determining that our compost is ready can sometimes be a bit perplexing.
Understanding the Composting Process
Before exploring how to tell when our compost is ready, it’s helpful to understand the composting process itself. Composting is a biological process that breaks down organic matter into simpler, nutrient-rich components, creating what we commonly refer to as “black gold” because of its incredible benefits for the garden.
What Happens During Composting?
During composting, microorganisms such as bacteria and fungi break down organic material. These microorganisms require four key elements to thrive and efficiently decompose waste:
- Carbon (browns): Materials like dried leaves, straw, and wood chips.
- Nitrogen (greens): Nitrogen-rich materials like grass clippings, kitchen scraps, and coffee grounds.
- Water: Essential to maintain moisture and support microbial activity.
- Oxygen: Provided through turning the pile to facilitate aerobic decomposition.
Different Types of Composting
There are several methods of composting, each with its own time frame for producing finished compost:
- Hot Composting: Rapid decomposition process that typically takes weeks to a few months. Requires frequent turning and maintaining the right temperature.
- Cold Composting: Slower process that can take six months to two years. This method requires less maintenance but takes longer to complete.
- Vermicomposting: Involves using worms to break down organic material. This process can take several months and produces rich, worm-castings compost.
Signs That Compost Is Ready
Now that we have a foundation, let’s zoom in on the indicators of when our compost is ready to use. Identifying finished compost relies on observing several key characteristics.
Appearance
Finished compost often looks like rich, dark soil. It should be crumbly and uniform in texture, resembling finely-ground coffee or high-quality soil. We shouldn’t be able to identify many of the original materials we put in our compost pile, as they should have broken down thoroughly.
Smell
One of the best ways to determine if our compost is ready is by smelling it. Finished compost has an earthy, pleasant smell. If our compost still smells sour, rotten, or like ammonia, it’s likely not ready yet and may need more time to decompose further.
Temperature
Temperature is another crucial indicator. As our compost matures, microbial activity decreases, and the pile’s temperature returns to ambient levels. If our compost pile still feels warm to the touch, active decomposition is likely still occurring.
Particle Size
When we sift or screen finished compost, the material should pass easily through a 1/4 or 1/2 inch mesh. Larger pieces can be returned to the compost pile for further decomposition.
Absence of Insects
While beneficial insects are a natural part of the composting process, finished compost should not have an abundance of them, especially larvae or other decomposer insects. Their presence indicates that decomposition is still occurring.
The Touch Test
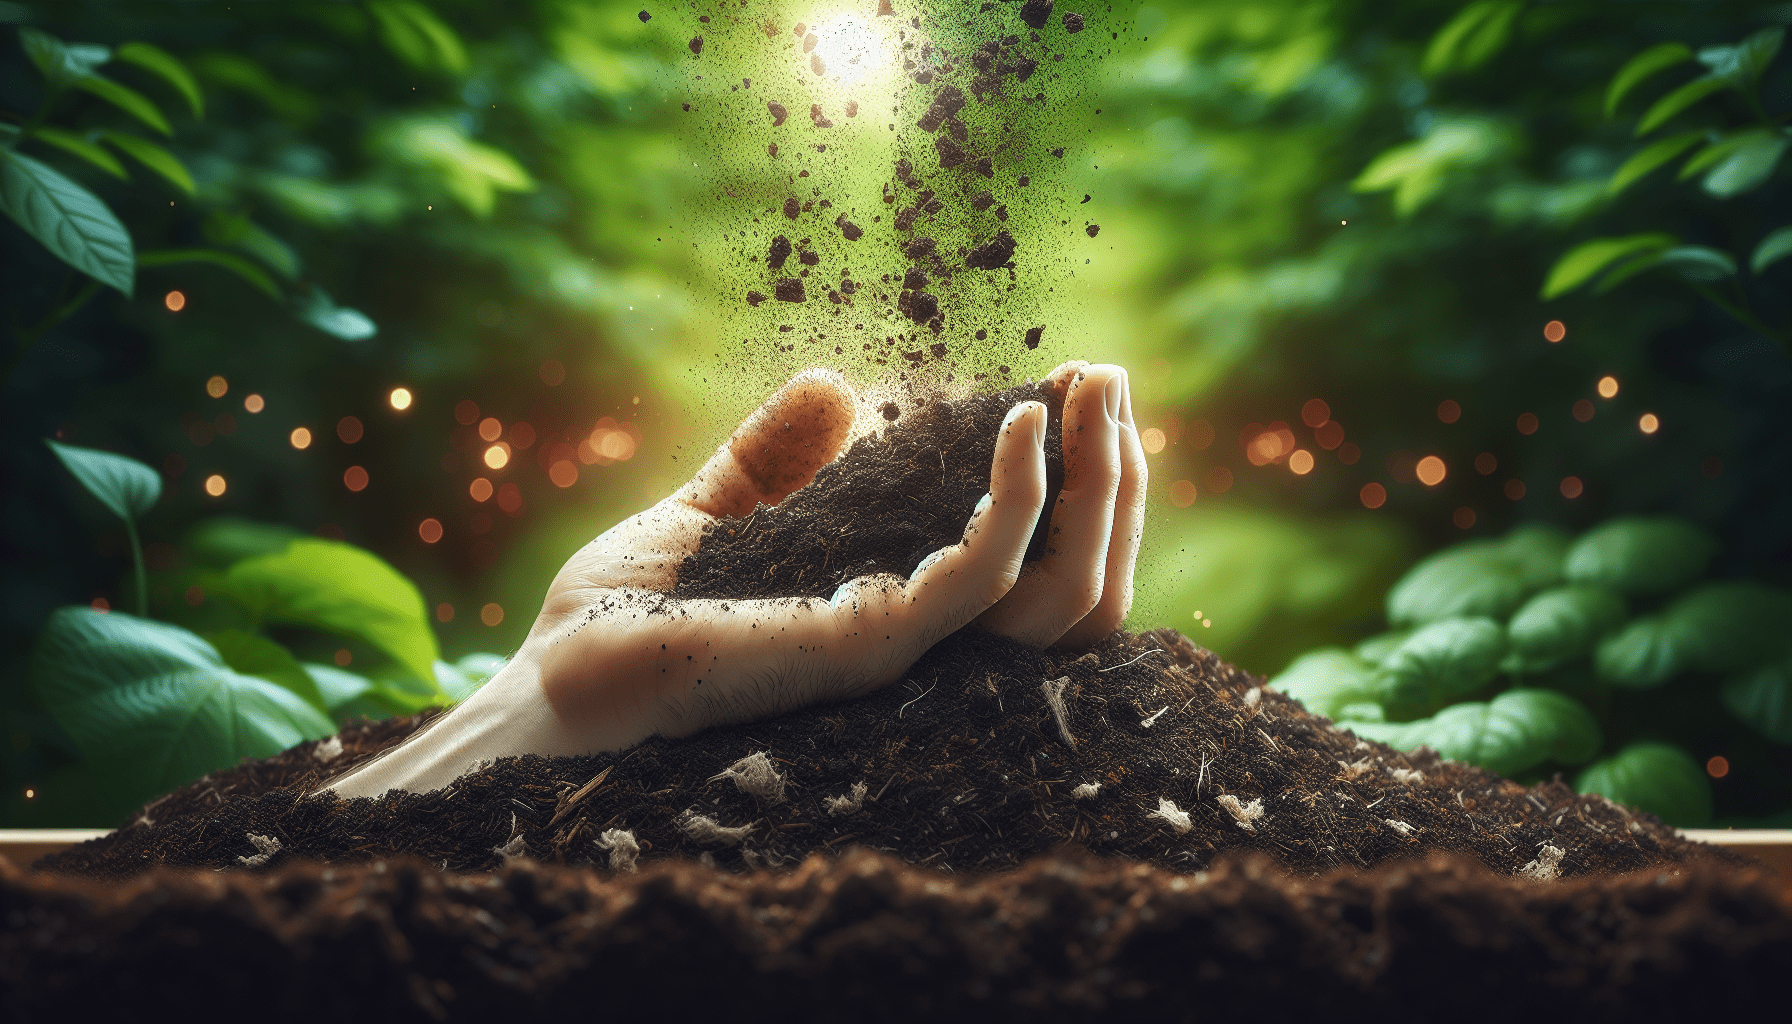
The touch test can be a simple yet effective method for checking if our compost is ready. Take a handful of compost, squeeze it together, and then release it. If the compost is ready, it should crumble apart easily rather than sticking together in a lump.
Time Frame
While it’s great to have indicators, understanding the typical time frame for different composting methods can give us a general idea:
| Composting Method | Time Frame |
|---|---|
| Hot Composting | 3 weeks to 3 months |
| Cold Composting | 6 months to 2 years |
| Vermicomposting | 3 to 6 months |
Remember, these time frames are approximate and can vary based on the quality and type of materials used, environmental conditions, and how well the compost pile is maintained.
Troubleshooting Common Issues
Sometimes, composting doesn’t go as planned, and we might encounter a few issues. Knowing how to troubleshoot common composting problems will help us ensure that our compost becomes ready efficiently.
Compost is Too Wet
If our compost pile is too wet, it can become compacted and anaerobic, leading to a foul odor. To remedy this, we can:
- Add more carbon-rich materials (browns) like straw or dried leaves.
- Turn the pile more frequently to increase aeration.
- Cover the pile to protect it from excessive rain.
Compost is Too Dry
A too-dry compost pile won’t decompose efficiently. Here’s how we can fix it:
- Sprinkle water to moisten the pile.
- Add more nitrogen-rich materials (greens) to boost microbial activity.
- Cover the pile to retain moisture.
Pile is Not Heating Up
If our hot compost pile isn’t heating up, it might be lacking nitrogen or moisture. The solutions include:
- Adding more green materials.
- Ensuring proper aeration by turning the pile regularly.
- Monitoring and adjusting moisture levels.
Presence of Large, Undecomposed Materials
Large materials that are still visible indicate incomplete composting. We should:
- Sift the compost to separate finished compost from larger, undecomposed pieces.
- Return the larger pieces to the active compost pile to decompose further.
Curing Compost
Once our compost has reached the desired stage of decomposition, it’s a good idea to let it cure. Curing is a period where the compost continues to stabilize and mature. This can happen in a separate area or in the same pile.
How Long Should Compost Cure?
Curing can take anywhere from one month to several months, depending on conditions. During this time, we should continue to keep the compost moist and turn it occasionally to ensure even curing.
Benefits of Curing
Curing ensures that any phytotoxic compounds break down completely, making the compost safe for all plants. It also continues to break down any remaining organic materials, resulting in a finer-textured compost.
Testing the Compost
If we’re still uncertain whether our compost is ready, conducting a germination test can be highly informative. This involves planting a few seeds in some of the compost to see how well they germinate and grow.
How to Conduct a Germination Test
- Fill a small container with our compost.
- Plant a few fast-germinating seeds, such as radish or lettuce.
- Water the seeds and place the container in a warm, well-lit area.
- Observe the seedlings over a couple of weeks.
If the seeds germinate well and the seedlings appear healthy, it’s a good indication that our compost is ready to use. Conversely, if growth is poor or seedlings are unhealthy, additional curing or adjustments may be needed.
Using Finished Compost
So, our compost is finally ready! But how do we use it effectively in our garden?
Soil Amendment
One of the most common uses for finished compost is as a soil amendment. We can mix it into garden beds, flower pots, or even our lawn to improve soil structure, water retention, and nutrient content.
Mulching
Finished compost can also be used as mulch around plants. Simply spread a layer of compost around the base of plants to help retain moisture, suppress weeds, and gradually add nutrients to the soil as it breaks down.
Compost Teas
We can even make compost tea by steeping finished compost in water. This nutrient-rich liquid can then be used to water plants, providing an immediate boost of nutrients.
Top Dressing
For existing plants, we can add a thin layer of compost on top of the soil. This method, known as top dressing, helps to improve soil quality and provide slow-release nutrients to plants.
Best Practices for Maintaining a Healthy Compost Pile
To achieve the best results and ensure our compost becomes ready efficiently, there are some best practices we can follow:
Proper Balance of Greens and Browns
Maintaining the right balance of green and brown materials is crucial for efficient decomposition. Aim for roughly a 50:50 ratio or slightly more browns than greens.
Regular Turning
Turning the compost pile regularly ensures adequate oxygen flow and even decomposition. For hot composting, turning every few days to once a week is ideal.
Moisture Management
Keep the compost pile moist but not waterlogged. The pile should feel like a wrung-out sponge. Too much moisture can lead to anaerobic conditions, while too little can slow down decomposition.
Shredding Larger Materials
Break down larger materials before adding them to the compost pile. This increases the surface area for microorganisms to work on and speeds up decomposition.
Avoiding Harmful Materials
Avoid adding meat, dairy, diseased plants, and pet waste to our compost pile, as these can attract pests and create health hazards.
Conclusion
Knowing when our compost is ready to use involves observing several key indicators: appearance, smell, temperature, particle size, and the absence of insects. Conducting a touch test and a germination test can provide further assurance. By understanding the composting process and maintaining our pile with best practices, we can create high-quality compost that enriches our soil and benefits our garden.
Whether we’re eager beginners or seasoned gardeners, the journey of composting is both fulfilling and sustainable. Converting organic waste into nourishing compost is not only beneficial for our garden but also contributes to a healthier environment. So, let’s keep composting and enriching our little patches of earth, one handful of black gold at a time!

